Thursday, November 7, 2024
Cheap and easy diy pole shed plans for backyard storage
Alright, folks, let's talk about something everyone needs: more storage space! That pile of tools in the garage? The lawnmower taking up your entire porch? Those overflowing bins in the basement? We've all been there. But building a fancy shed can be expensive, right? Well, hold onto your hats because we're about to dive into the world of DIY pole sheds.
Think of it this way: a pole shed is like a giant, super-sturdy tent, only made of wood. No fancy foundation, no complicated framing, just a few sturdy poles and some clever construction techniques. You're essentially creating a lean-to that's sturdy enough to hold all your stuff.
Now, let's get down to the nitty-gritty:
Why Choose a Pole Shed?
Cost-Effective: This is where the "cheap and easy" part comes in. Pole sheds are significantly cheaper than traditional sheds. You'll save on materials and foundation costs.
Fast to Build: No complicated framing means you can whip up a basic pole shed in a weekend.
Easy to Customize: Want to add windows, doors, or even a loft? No problem! Pole shed construction is incredibly versatile.
Durable: When built correctly, pole sheds are surprisingly sturdy and can withstand all kinds of weather.
Building the Foundation
First things first, you need a solid foundation. Here's where things get interesting:
Concrete Pier Foundation: This is the most common and stable option. You'll need to pour concrete piers into the ground, spaced out according to your shed design.
Concrete Slab: This is a bit more expensive but offers a solid, level surface for your shed.
Gravel Base: This is a great option if you want to save money. Just create a bed of compacted gravel, and you're good to go.
The Poles: The Backbone of Your Shed
Choose pressure-treated lumber for your poles. This will help prevent rot and decay. Go for 6x6 posts or larger for maximum strength.
Now, let's talk about the "how-to" part:
Step 1: Planning and Design
Sketch Out Your Shed: Grab a pencil and paper (or open a design app on your phone!). Decide on the dimensions you need, the roof pitch, and any other features you want to include. Keep in mind local building codes and zoning restrictions.
Choose Your Materials: Think about the siding, roofing, and windows. Consider your budget and the overall aesthetic you're going for.
Step 2: Preparing the Site
Level and Clear the Area: Make sure your site is clear of debris and level before you start building.
Mark Out the Posts: Using your plans, mark out where your poles will go.
Step 3: Setting the Posts
Dig Post Holes: Dig holes deep enough to meet local building codes and frost lines. Use a post hole digger or call in a professional if you're not comfortable digging.
Install the Posts: Place your posts in the holes and ensure they're plumb (straight). Use concrete mix to secure them, or pack gravel around the base.
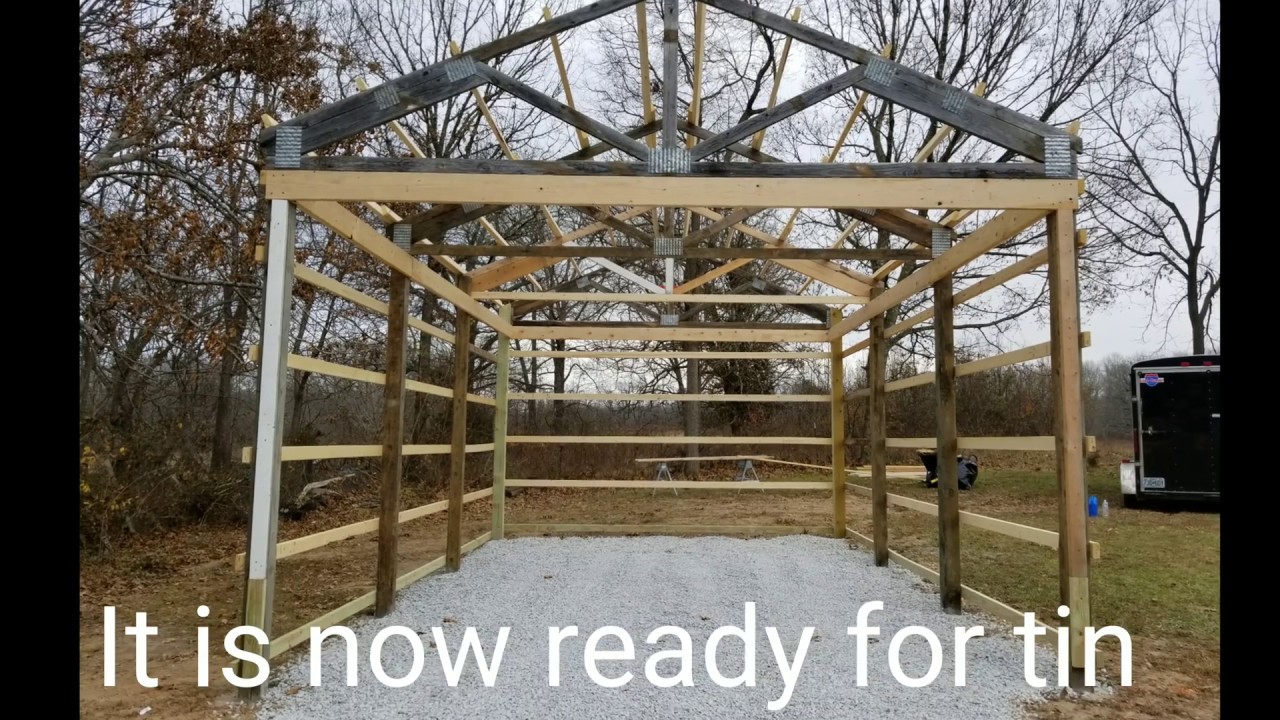
Step 4: Building the Frame
Connect the Top: Once your posts are set, connect them with horizontal beams. This will form the skeleton of your shed.
Add Bracing: To create additional support, add diagonal bracing between the posts and beams.
Step 5: Sheathing and Roofing
Sheathing: Cover the frame with plywood or OSB (oriented strand board) for a strong, stable roof. This will also serve as a base for your roofing shingles.
Roofing: Choose your roofing material â€" asphalt shingles, metal roofing, or even recycled materials.
Step 6: Siding and Finishing Touches
Siding: Pick your siding material - vinyl, wood, or metal.
Doors and Windows: Install your doors and windows according to your design.
Finishing Touches: Add trim, paint, or stain to personalize your shed.
Safety First!
Wear Safety Gear: Always use safety glasses, gloves, and sturdy footwear while building.
Use the Right Tools: Make sure you have the proper tools for the job, and always double-check your work.
Ask for Help: Don't be afraid to ask for assistance if you're unsure about any part of the project.
Tips and Tricks
Start Small: If this is your first pole shed project, consider starting with a smaller, simpler design.
Use Reclaimed Materials: Give those old pieces of wood a second life by incorporating them into your shed.
Think About Ventilation: Include windows or vents to prevent moisture buildup inside your shed.
Get Creative: This is your chance to let your creativity shine! Add some personality with unique siding, paint, or even a fun roofline.
Remember, building a pole shed is about more than just creating storage space. It's about taking on a project, learning new skills, and adding something special to your backyard.
So, grab your tools, put on your safety glasses, and get building! You've got this!
No comments:
Post a Comment
Note: Only a member of this blog may post a comment.