Monday, November 11, 2024
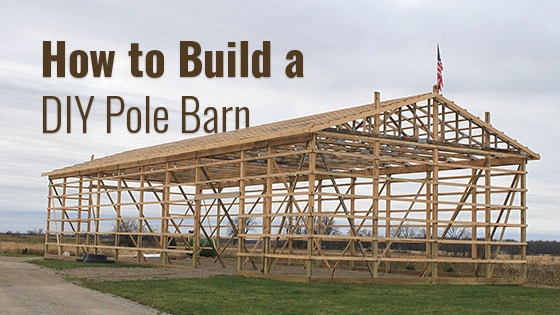
How to Construct a Pole Barn for a Workshop or Storage
Alright, you're ready to ditch the cramped garage and build your very own workshop or storage space. A pole barn is the perfect solution - it's affordable, customizable, and quick to erect. You might be thinking, "Building a barn? That sounds complicated!" But trust me, it's not as intimidating as you think.
Let's break this down into manageable chunks, like a good carpenter does with their lumber.
First, Get Your Planning On
Before you even think about digging a hole, you need a solid plan.
1. Design and Size: What's the purpose of your pole barn? Workshop? Storage? A space for your weekend projects? This will determine the size you need. Don't be shy, go big if you can! You'll thank yourself later when you have ample space for all your tools and projects.
2. Location, Location, Location: Think about where your barn will fit best. Is it close enough to utilities? Are there any trees or other obstacles in the way?
3. Materials and Construction: Do you want traditional wooden posts or steel ones? What kind of siding and roofing? Decide on your budget and the materials that fit best.
The Foundation: The Bedrock of Your Barn
Now, let's talk about the foundation. This is the crucial part that keeps your barn sturdy and standing tall.
1. Concrete Pier Foundation: This is a popular choice for pole barns. You'll be digging holes and pouring concrete to create sturdy piers that support your posts. You can choose from different sizes and configurations to accommodate your barn's weight and size.
2. Concrete Slab Foundation: If you want a more solid floor, you can go for a concrete slab foundation. This is more expensive but provides a level and durable floor for your workshop.
The Posts: The Backbone of Your Structure
Next up, the posts - the vertical supports that hold up your entire barn.
1. Choosing the Right Material: Wooden posts are typically pressure-treated to resist rot and moisture. Steel posts are a more modern and durable option.
2. Post Size and Spacing: The size and spacing of your posts depend on the size and weight of your barn. Check local building codes and consult with a structural engineer for advice.
3. Installing the Posts: Once you've poured your concrete piers, you'll need to carefully install the posts on top. Make sure they are level and plumb before the concrete sets.
The Walls and Roof: Putting a Cover Over Your Creations
We're nearing the finish line! Now it's time to build the walls and roof.
1. Framing the Walls: Connect your posts with horizontal beams and wall studs. You can choose from different types of siding, from traditional wood to metal or vinyl.
2. Roof Construction: The roof is where you get creative. You have options for pitched roofs, gambrel roofs, or even a simple flat roof. Don't forget to add insulation for better temperature control.
3. Roof Covering: Choose a material that suits your style and budget. Metal roofing is a popular choice for pole barns due to its durability and affordability. Shingles are another option.
Doors and Windows: Bringing in the Light (and Access)
Let's talk about doors and windows. After all, you want your workspace to be welcoming and well-lit.
1. Doors: The Grand Entrance: Choose a door size and style that suits your needs. Double doors are great for bringing in large items or tools.
2. Windows: Bringing in the Light: Consider adding windows to your workshop for natural light. This can also help with ventilation. You can choose from different styles and sizes based on your preference.
The Finishing Touches: Making It Your Own
Now comes the fun part - adding the finishing touches to make your pole barn truly your own.
1. Insulation: Insulating your barn will improve its energy efficiency and keep it comfortable year-round.
2. Electrical Wiring: You'll need to have electricity for your tools and lighting. Run the wiring according to local codes and safety standards.
3. Interior Finish: Add a layer of drywall or plywood to the interior walls. You can paint them or add other finishes.
It's Time to Get Building!
You've got the plan, the materials, and the know-how. Now it's time to get your hands dirty! Remember, building a pole barn is a lot of work, but the satisfaction of creating your own space is worth it.
A Few Tips for Success:
Safety First: Always wear safety gear like gloves, safety glasses, and hearing protection.
Take Your Time: There's no need to rush. Building a pole barn is a process, so take your time and do it right.
Ask for Help: Don't be afraid to ask for help from friends or family. A helping hand can make the process a lot easier.
Have Fun!: Building your own pole barn is a rewarding experience. Enjoy the process and take pride in your accomplishment.
So, are you ready to embark on your pole barn adventure? With some careful planning and a little hard work, you'll soon be enjoying your own workshop or storage space. And remember, the possibilities are endless! You can customize it to fit your exact needs and style. Go out there and build something amazing! You've got this!
No comments:
Post a Comment
Note: Only a member of this blog may post a comment.