Sunday, November 10, 2024
How to build a 10x12 shed for under $500
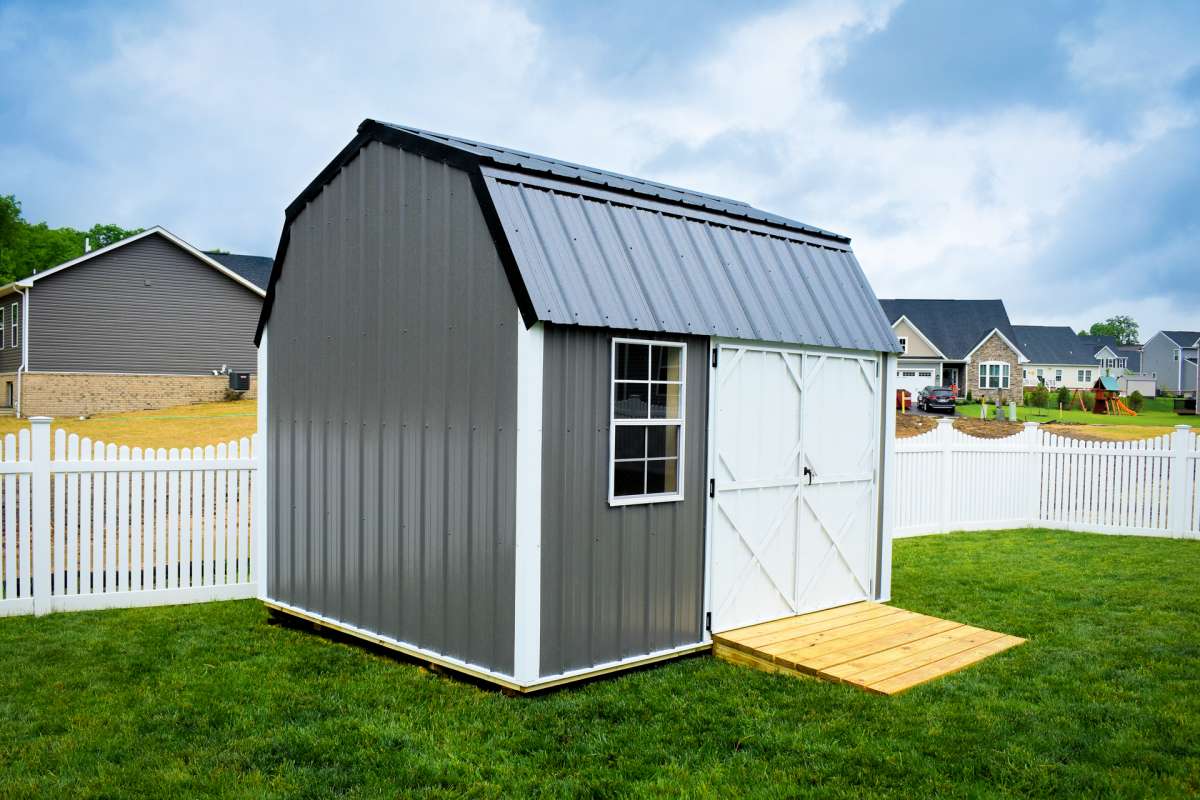
Hey there, fellow DIY enthusiasts! Ever dreamed of having a shed? A little haven for your tools, garden supplies, or maybe even a tiny workshop? You know what they say, "The only thing better than a shed is a shed you built yourself."
But hold up! We're on a budget here. Building a shed can be pricey, but I'm here to show you how to make it happen for under $500. It's not just about the cost, it's about the thrill of the build!
Planning is King:
The first step is to create a solid plan. We're talking about a 10x12 shed, so let's break it down:
Foundation: Forget the fancy concrete slabs. We're going simple. A well-prepared gravel base will be more than enough for our 10x12 shed.
Framing: Think 2x4s and 2x6s. We'll be using those for the walls, roof, and floor. You'll want to pick up some sturdy plywood for the roof and floor sheathing.
Siding: Time to get creative. You can go with budget-friendly options like vinyl siding or even use pressure-treated wood if you want a rustic look.
Roofing: Shingles are the way to go, and you can find decent ones for a good price. Don't forget to factor in some flashing for those pesky roof edges.
Door: A simple pre-hung door will save you time and effort. Look for good deals online or at your local lumber yard.
Windows: You can skip these altogether if you're on a tight budget, but a small window or two can add some natural light.
Where to Find the Best Deals:
Lumber Yards: Look for sales and clearance sections. You can often find good deals on slightly damaged or surplus lumber.
Online Marketplaces: Check sites like Craigslist, Facebook Marketplace, and even eBay. Sometimes you can find great deals on pre-owned or salvaged materials.
Second-Hand Stores: Don't underestimate those thrift stores! They might have some gems for your shed project.
Friends and Family: Ask around. Someone might have leftover materials from a previous project.
Getting Started:
Now that you have your plan and materials, let's get to work. Here's a step-by-step guide:
1. Clear the Space: Choose a flat, level area for your shed. Make sure to clear any debris and vegetation.
2. Create the Base: Prepare the gravel base. Level it carefully using a rake and a carpenter's level.
3. Building the Floor: Lay down the floor joists, spacing them according to code. Then, attach the plywood subfloor.
4. Framing the Walls: Construct the walls with 2x4 studs, making sure to include bracing for stability.
5. Raising the Walls: Carefully lift the walls into place and secure them to the floor.
6. Roof Framing: Construct the roof rafters and install them onto the wall plates.
7. Roof Sheathing: Attach the plywood sheathing to the rafters.
8. Adding the Siding: Install your chosen siding, working from the bottom up.
9. Roofing Time: Install the shingles, starting at the bottom and working your way up. Don't forget the flashing!
10. The Finishing Touches: Install the door, any windows you've chosen, and add any trim details.
Remember:
Safety first! Always wear safety glasses and gloves when working with tools and materials.
Don't skimp on building codes. Make sure your shed is constructed to meet local building standards.
Take your time and enjoy the process. Building a shed is a rewarding experience!
Additional Tips:
Don't Be Afraid to Ask for Help: If you're not comfortable with a certain task, ask a friend or family member for help.
Utilize Your Resources: There are plenty of online resources and YouTube videos that can guide you through the building process.
Get Creative with Design: Add some personality to your shed with paint, decorative accents, and landscaping.
Building a shed for under $500 is definitely achievable. It takes a little planning, some ingenuity, and maybe a bit of sweat equity. But the satisfaction of building something with your own two hands is worth every penny!
So, what are you waiting for? Get out there and build your dream shed!
No comments:
Post a Comment
Note: Only a member of this blog may post a comment.