Thursday, November 7, 2024
Building a 10x12 garden shed: design tips and tricks for diyers
Alright, you've decided to build a shed. Awesome! A 10x12 shed is a great size - big enough for all your tools and gear, but not so big it'll take over your entire backyard. Now, before you dive headfirst into that lumber pile, let's talk about some design tips and tricks that'll make your DIY journey a whole lot smoother (and less likely to end in a shed-sized pile of frustration).
1. Picking the Perfect Spot:
First things first, you gotta find the right spot. Don't just plop it down in the first sunny patch you see. Consider:
Sunlight and Shade: Too much sun and your shed will be a furnace in the summer. Too much shade and you'll be working in the dark. Aim for a balance.
Access and Drainage: You'll be moving things in and out, so make sure there's easy access. Also, check if the spot has good drainage to prevent water buildup under your shed.
Utilities: If you're planning on running electricity or plumbing, think about how you'll get those lines to your shed. It's way easier to plan for it now than to try and retrofit it later.
Neighbors: Check your local building codes and be mindful of setbacks, property lines, and any potential noise issues for your neighbors.
2. Foundation, Foundation, Foundation:
This is where many DIYers get into trouble. A solid foundation is the cornerstone of a strong shed. Here's a breakdown:
Concrete Slab: Best for long-term stability, but it requires some serious work.
Concrete Blocks: Easier to install than a slab, but make sure you level them perfectly.
Pressure-Treated Skirts: A great option if you have well-drained soil, but it won't be as durable as concrete.
Don't skimp on your foundation. A weak foundation will lead to a wobbly shed, and trust me, you don't want that.
3. Frame Up, Build It Strong:
Now the fun starts! Here's where the basic carpentry skills come in:
Framing Lumber: Go for pressure-treated lumber for the bottom plates and anything touching the ground. For the rest, use standard framing lumber.
Joints and Fasteners: Use strong joint techniques like lap joints or mortise and tenon. Choose heavy-duty screws or nails for maximum holding power.
Wall Sheathing: This adds strength and rigidity to your walls. Plywood or OSB are common choices.
Roof Framing: Choose the roof style you want (gable, shed, or hip) and build your rafters accordingly.
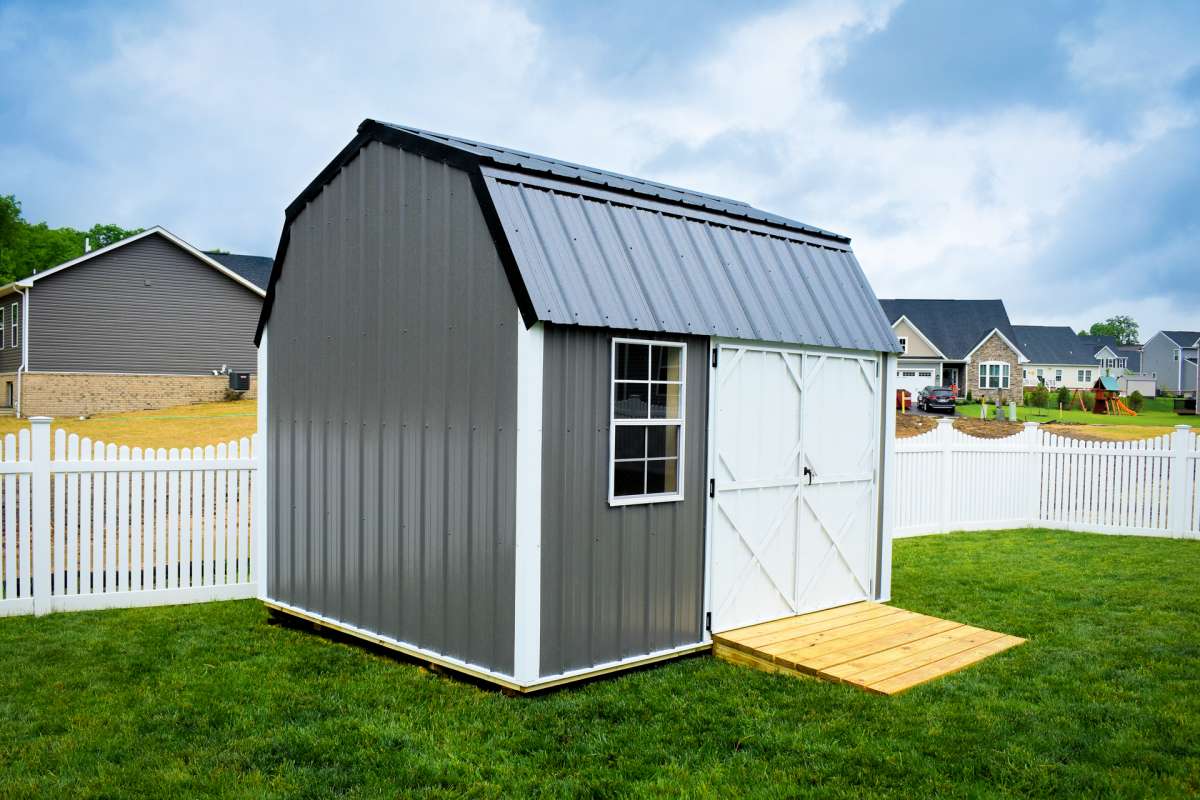
4. Siding and Roofing: Choose Your Style
This is where you get to personalize your shed:
Siding: Vinyl, wood, metal, or even composite panels - the choices are endless! Think about your budget, style, and maintenance level.
Roofing: Asphalt shingles are the classic choice, but you could also go with metal, tile, or even cedar shakes.
Windows and Doors: Standard windows and doors are readily available. Get creative with the size and style to match your shed's design.
5. Add Finishing Touches:
It's all about the details!
Painting and Staining: Protect your wood with paint or stain. Pick colors that blend with your yard or make a bold statement.
Flooring: Concrete, tile, wood - choose what works for you. Make sure it's durable and easy to clean.
Insulation and Ventilation: Add insulation if you plan on using your shed in the colder months. Proper ventilation is essential for preventing moisture buildup and rot.
Shelving and Storage: Get organized! Plan out your shelving, hooks, and bins to maximize space and keep your tools and gear in order.
6. Safety First, Always:
Power Tools: Use safety gear like gloves, goggles, and hearing protection.
Lifting: Use proper lifting techniques to avoid back injuries.
Working at Heights: Take extra caution if you're working on ladders or scaffolding.
7. Don't Be Afraid to Ask for Help:
Don't be afraid to reach out to friends, family, or professionals if you need help with any stage of the process. There's no shame in asking for guidance, and you'll have more fun and avoid frustration if you have a helping hand.
8. Enjoy the Journey!
Building a shed is a rewarding project. It takes time and effort, but the satisfaction of creating something with your own two hands is truly priceless. Plus, you'll have a beautiful and functional addition to your backyard that you can enjoy for years to come!
Bonus Tips:
Start Small: If you're new to carpentry, build a small project first to gain experience before tackling a shed.
Take Your Time: Don't rush. Focus on doing each step correctly to avoid mistakes.
Document Your Progress: Take pictures and notes as you go, so you can refer back to them if you need to.
Have Fun! Building a shed should be enjoyable. Take breaks when you need them and don't get discouraged if things don't go perfectly the first time.
Remember, building a shed is a learning experience. Don't be afraid to make mistakes and learn from them. With a little planning, patience, and a bit of elbow grease, you'll have a shed you can be proud of!
No comments:
Post a Comment
Note: Only a member of this blog may post a comment.