Thursday, November 21, 2024
No-Fuss Lean-To Shed Build: Easy Plans for Your Outdoor Storage
No-Fuss Lean-To Shed Build: Easy Plans for Your Outdoor Storage
Tired of clutter overflowing your garage and garden shed? Yearning for a simple, affordable solution to your outdoor storage woes? Then building a lean-to shed is the perfect weekend project! This guide provides easy-to-follow plans, transforming your outdoor space from chaotic to organized in no time. Forget complicated blueprints and expensive contractors; we'll walk you through a straightforward construction process that anyone can tackle, regardless of their DIY experience. Get ready to reclaim your outdoor space and enjoy the satisfaction of a job well done.
Planning Your Lean-To Shed
Before you grab your tools, careful planning is essential. First, determine the ideal location for your lean-to. Consider proximity to your house or existing structures for easy access and minimizing weather exposure. You’ll need to choose a sturdy, level surface to build uponâ€"a concrete slab, compacted gravel, or a well-prepared earthen base will work. Next, decide on the size of your shed. Measure your available space and determine the dimensions that best suit your storage needs. Remember to check local building codes before beginning construction; these may dictate certain size restrictions or material requirements. Sketch a simple design, noting the dimensions of the walls, roof, and any doors or windows you plan to incorporate. This simple plan will serve as your guide throughout the build.
Gathering Your Materials and Tools
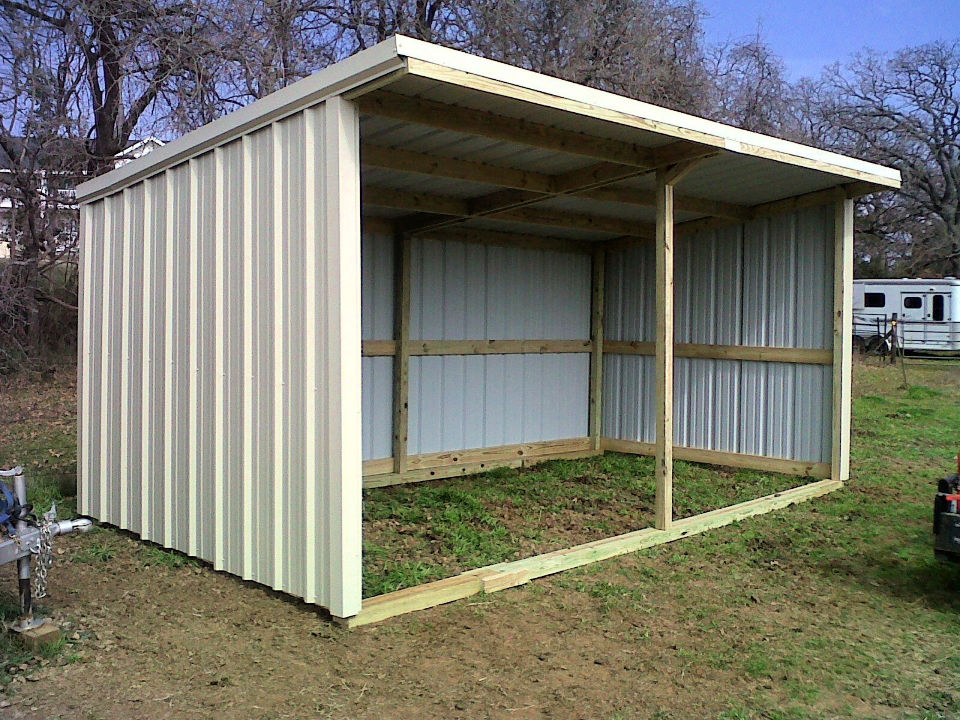
With your plans finalized, gather the necessary materials. A basic lean-to requires pressure-treated lumber for its longevity and resistance to rot. Pressure-treated 4x4 posts will form the sturdy foundation. 2x4s will constitute the framing of the walls and roof. You'll also need plywood sheeting for the walls and roof covering, roofing material (shingles, metal, or tar paper), nails, screws, and construction adhesive. Don't forget essential tools including a measuring tape, level, saw (circular saw or hand saw), drill, hammer, shovel, and safety glasses. Having all these materials and tools ready will ensure a smooth and efficient building process.
Essential Material List:
- Pressure-treated 4x4 posts
- Pressure-treated 2x4 lumber
- Plywood sheeting
- Roofing material (shingles, metal, or tar paper)
- Nails and screws
- Construction adhesive
Step-by-Step Construction
Start by setting your 4x4 posts into the ground, ensuring they are plumb and firmly anchored. Next, construct the frame for your lean-to walls, using 2x4s and joining them with screws and adhesive for extra strength. Remember to maintain consistent measurements throughout the process. Once the walls are framed, attach the plywood sheeting. Now, frame and cover the roof, ensuring a proper slope to facilitate water runoff. Secure your chosen roofing material, following the manufacturer’s instructions. Finally, add a door if needed, and consider adding extra touches like paint or stain to personalize your lean-to. Congratulations, your new outdoor storage space is complete!
Finishing Touches and Maintenance
After the construction, add a final coat of weather-resistant paint or stain to protect your lean-to from the elements. Regular maintenance will ensure its longevity. Check for any loose nails or screws periodically and tighten them as needed. Inspect the roof for any damage after storms and repair it promptly. By taking these simple maintenance steps, you’ll extend the lifespan of your lean-to shed and enjoy its benefits for years to come. Your no-fuss lean-to shed is a testament to your DIY skills and provides practical, organized storage that enhances your outdoor living space.
No comments:
Post a Comment
Note: Only a member of this blog may post a comment.