Thursday, November 21, 2024
How to Build a Lean-To Shed: Easy Plans for a Functional Shed
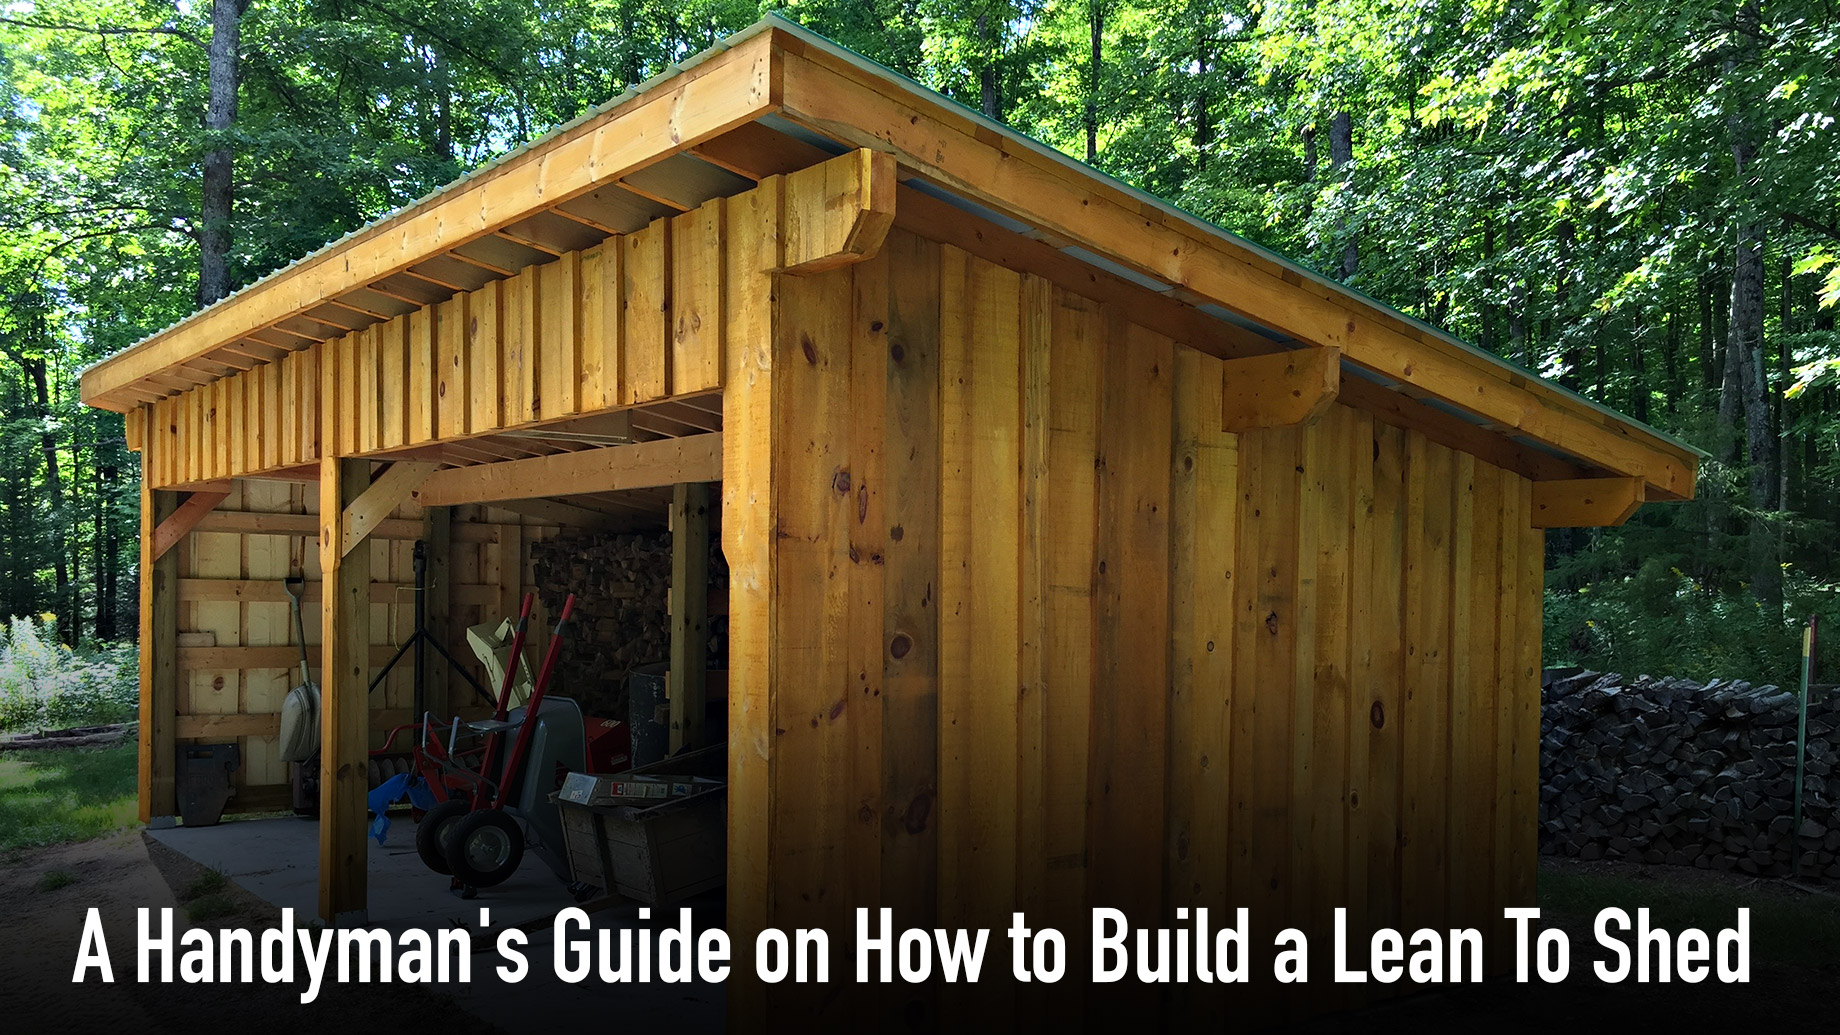
How to Build a Lean-To Shed: Easy Plans for a Functional Shed
So, you're thinking about building a lean-to shed? Fantastic! It's a surprisingly achievable project that can add tons of valuable storage space to your property without breaking the bank or requiring advanced carpentry skills. This guide will walk you through the process, step-by-step, in a way that even a complete beginner can understand. Let's get started!
Planning Your Lean-To Shed
Before you even pick up a saw, careful planning is key. This will save you headaches and potential costly mistakes down the line. Think about these things:
1. Location, Location, Location!
Where will your lean-to go? Consider proximity to your house (for easy access), existing structures (for support), and sunlight exposure (for ventilation and dryness). Ensure it complies with any local building codes or HOA regulations.
2. Size Matters
How much storage do you need? A smaller lean-to is quicker and cheaper to build. Sketch out a basic plan, noting the desired length and width. Remember to account for the thickness of the materials when calculating the overall dimensions.
3. Materials List
This is where you'll compile everything you'll need. A comprehensive list prevents mid-project scrambling to the hardware store. Here's a general list; the specifics will depend on your design:
- Pressure-treated lumber (for the foundation, frame, and roof)
- Plywood or OSB (for sheathing the walls and roof)
- Roofing material (shingles, metal, etc.)
- Nails, screws, and other fasteners
- Level, measuring tape, saw (circular saw or hand saw), hammer, drill, safety glasses, and work gloves
- Optional: Concrete blocks or a concrete foundation (depending on your location and desired permanence)
- Optional: Exterior siding (for a more finished look)
Building the Foundation
A solid foundation is crucial for a stable and long-lasting lean-to. Your options depend on your budget and the ground conditions.
1. Concrete Slab (Most Durable)
This is the most robust option, but requires more time and effort. You'll need to excavate, pour a concrete slab, and let it cure properly before proceeding.
2. Concrete Blocks (Simple and Cost-Effective)
Laying a base of concrete blocks is a much simpler alternative. Level the ground first, then lay the blocks, ensuring they're level and aligned.
3. Directly on the Ground (Least Durable)
For temporary lean-tos or in areas with well-drained soil, you might get away with placing the frame directly on the ground. However, consider using pressure-treated lumber to prevent rot.
Framing the Lean-To
The frame provides the structure for your shed. This is where accuracy is important.
1. Building the Walls
Depending on your design, you might only need one wall. Cut and assemble the wall framing using pressure-treated lumber, ensuring all corners are square and plumb. Use a level frequently!
2. Constructing the Roof
Lean-tos have a simple, sloping roof. Attach the rafters to the top plate of the wall(s) and the supporting structure (your house or another building). Ensure the rafters are evenly spaced and have sufficient slope to allow for proper water runoff.
Sheathing and Roofing
Now it's time to enclose your lean-to and make it weatherproof.
1. Sheathing the Walls and Roof
Attach plywood or OSB sheathing to the walls and roof framing. This will provide a solid base for the roofing material and help protect the structure from the elements. Secure the sheathing with appropriate nails or screws.
2. Installing the Roofing Material
This step depends on your chosen roofing material. Shingles, metal roofing, and even tarps are options. Follow the manufacturer's instructions for installation. Ensure proper overlapping to prevent leaks.
Finishing Touches
Once the structure is complete, there are a few finishing touches that can enhance its functionality and appearance.
1. Adding a Door
Cut an opening in one of the walls and install a door. Consider a simple, sturdy door that's easy to open and close.
2. Installing a Floor
This step isn't always necessary, but it greatly enhances the shed's usability. You can lay down concrete, plywood, or even just gravel depending on the shed’s purpose.
3. Painting or Staining
Applying a coat of paint or stain will protect your lean-to from the elements and give it a more polished look. Choose an exterior-grade paint or stain that's appropriate for the climate.
Commonly Asked Questions
Here are some common questions people ask about building lean-to sheds:
1. Do I need a building permit?
Possibly. Building codes vary by location. Check with your local authorities to determine if a permit is required before starting the project.
2. How long does it take to build a lean-to shed?
It depends on the size and complexity. A simple lean-to can be built in a weekend, while a larger or more elaborate one might take several days or even a week.
3. How much does it cost to build a lean-to shed?
The cost varies greatly depending on materials and size. You can build a basic lean-to for a few hundred dollars, while a more substantial one could cost several thousand.
4. Can I build a lean-to shed myself?
Absolutely! With careful planning and attention to detail, building a lean-to shed is a manageable DIY project, even for beginners. Take your time, follow the instructions carefully, and don't hesitate to ask for help if needed.
Building your own lean-to shed is a rewarding experience. You'll gain valuable skills and end up with a practical addition to your property. Remember to prioritize safety throughout the process, and enjoy the satisfaction of creating something with your own two hands!
No comments:
Post a Comment
Note: Only a member of this blog may post a comment.