Thursday, November 7, 2024
Building a lean-to storage shed from scratch
Alright, so you're ready to build a lean-to storage shed, huh? Good for you! It's a fantastic way to add some extra space to your property, and it's not nearly as intimidating as it might seem. I'll walk you through the process step-by-step, making sure you're comfortable with each stage. Let's get this shed built!
## Planning is Key: Laying the Foundation
First things first, you need a plan. This isn't a "wing it" kind of project. Grab a pencil, some paper, and your best measuring tape. Decide where you want the shed to go and measure the space carefully. Consider how big you want the shed to be, keeping in mind your needs and the available space.
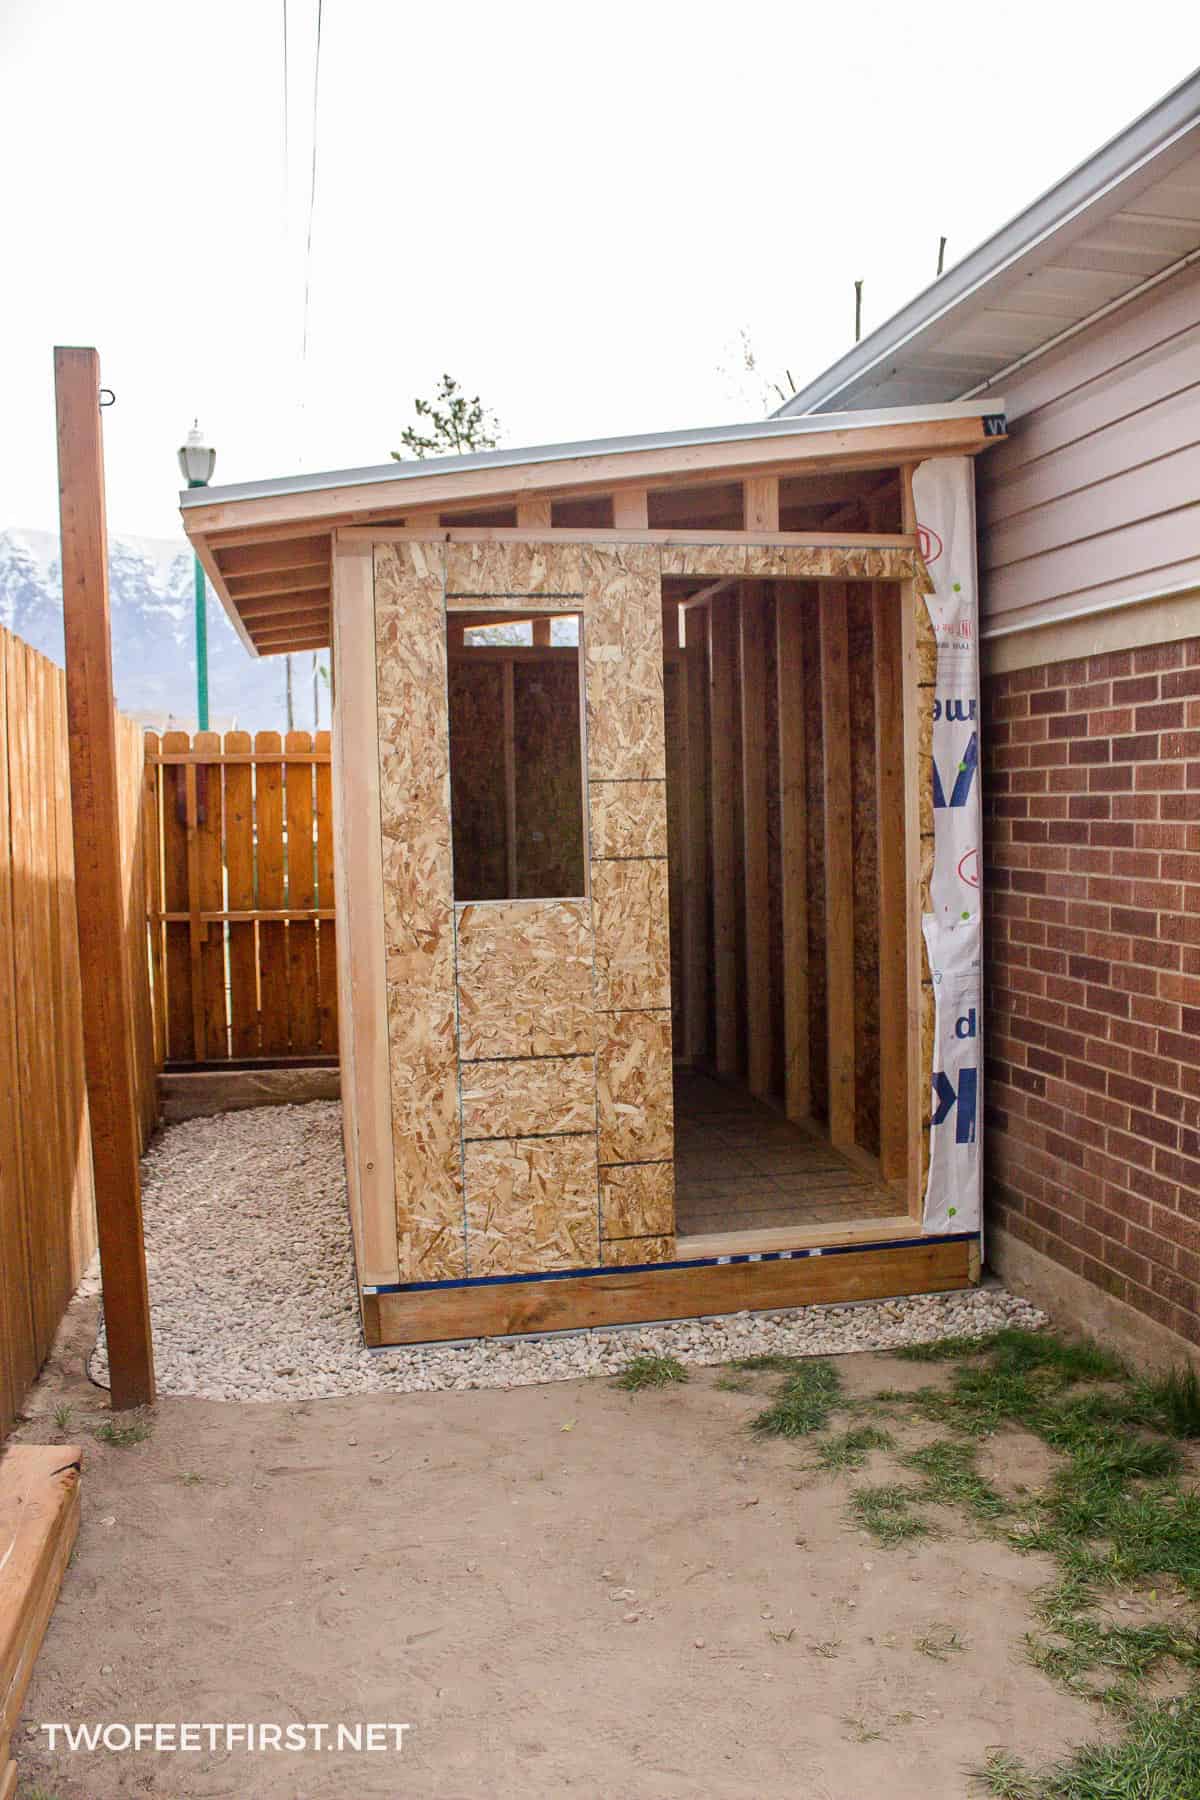
For a lean-to, you're basically building a slanted roof attached to an existing wall. You'll need to figure out the angle of the roof, which will determine the length of the supporting beams. Don't worry, there are online calculators for that!
Once you have the dimensions, draw a rough sketch of your shed. This will help you visualize the project and make sure you have all the materials you need.
## Materials List: Getting Ready to Shop
Now that you have a plan, let's get a list of the materials you'll need. This will vary depending on the size and style of your shed, but here’s a general list:
Framing:
Pressure-treated lumber: 4x4 posts for your foundation, 2x4s or 2x6s for the framing of the walls and roof. You'll need more lumber depending on the size of your shed and the pitch of your roof.
Plywood or OSB sheathing: For the walls and roof.
Roofing shingles: The type will depend on your local climate and your budget.
Flashing: To seal the roof and wall joints.
Construction adhesive: For attaching the sheathing to the framing.
Nails: For attaching the sheathing and siding.
Screws: For attaching the roof and trim.
Brackets and joist hangers: For strengthening the framing.
Siding and Trim:
Siding: Choose the type you like best. Vinyl siding is affordable and easy to maintain, while wood siding offers a more traditional look.
Trim: For finishing the edges of the siding and around windows and doors.
Caulk: For sealing gaps around the trim.
Paint or stain: To protect and enhance the appearance of your shed.
Windows and Doors:
Window(s): Depending on your needs. Consider adding a window for light or ventilation.
Door: Choose a sturdy door that fits the opening.
Other:
Concrete blocks or gravel: For the foundation.
Building paper: For wrapping the exterior of the shed before applying the siding.
Heavy-duty plastic sheeting: To protect the interior from rain while building.
Level: Essential for ensuring everything is straight!
Circular saw, jigsaw, and drill: For cutting lumber and attaching materials.
Safety gear: Work gloves, safety glasses, and ear protection are a must.
Pro Tip: Don't forget to factor in the cost of hardware, such as hinges, handles, and fasteners, when you're planning your budget.
## Foundation First: Building a Stable Base
Now it’s time to start the actual construction. First, you need to create a solid foundation for your shed. There are several ways to do this:
Concrete pad: The most durable option, but it can be expensive and time-consuming to pour.
Concrete blocks: A relatively simple and cost-effective solution.
Gravel: A good option for areas with poor drainage, but it's not as stable as concrete.
If you're using concrete blocks, you'll need to level them carefully and use mortar to hold them together. Remember to check the local building codes to ensure your foundation meets the requirements.
## Framing Time: The Skeleton of Your Shed
Once your foundation is in place, you can start framing the walls.
1. Erect the posts: Install the pressure-treated posts on top of the foundation using concrete or heavy-duty anchor bolts. Make sure they're perfectly vertical using your level.
2. Attach the top plate: This is the horizontal piece of lumber that runs along the top of the walls. Attach it securely to the posts.
3. Install the wall studs: These are the vertical pieces of lumber that create the walls. Attach them to the top plate and bottom plate, spacing them according to your local building code requirements.
4. Add diagonal bracing: This helps to strengthen the walls and prevent them from racking.
5. Frame the door opening: If you're planning to have a door, create the opening in your wall framing, making sure it’s the correct size and shape.
## Roof Construction: A Shelter From the Elements
The roof of your lean-to is a bit different from a regular shed. You'll be attaching it to an existing wall.
1. Attach the roof rafters: These are the angled pieces of lumber that support the roof. Cut them to the correct length based on the pitch of your roof and attach them securely to the top plate and the existing wall.
2. Install the roof sheathing: This is the layer of plywood or OSB that goes on top of the rafters. Attach it securely with nails or screws.
3. Apply roofing felt: This acts as a barrier between the sheathing and the shingles, preventing leaks.
4. Lay the shingles: Start at the bottom of the roof and work your way up, following the manufacturer’s instructions.
5. Install flashing: Flashing is a type of metal or rubber material that helps to prevent leaks around the roof and wall joints.
## Siding, Trim, and Finishing Touches
Now you're almost there!
1. Install the siding: Start at the bottom of the shed and work your way up, overlapping each piece.
2. Add the trim: This will cover the edges of the siding and give your shed a finished look.
3. Caulk the gaps: Use caulk to seal any gaps around the trim and doors.
4. Paint or stain the exterior: Choose the color or stain that best complements your property.
## Door and Window Installation: Access and Light
1. Install the door: Attach the door hinges and handles to the frame and then hang the door in the opening you created earlier.
2. Install the window(s): If you're adding windows, follow the manufacturer's instructions for installation.
## Finishing the Interior: A Cozy Space
1. Install insulation: This is optional but recommended for a more comfortable and energy-efficient shed.
2. Add a floor: You can use plywood or concrete, depending on your needs.
3. Finish the interior: Paint or stain the interior to match your taste.
And that's it! You've successfully built a lean-to storage shed from scratch. You can now enjoy your extra storage space.
## Tips for Success
Take your time: This is a big project, so don't rush it.
Check your work: Make sure everything is level and square as you go along.
Use quality materials: This will ensure that your shed lasts for many years to come.
Get help if needed: Don't be afraid to ask for help from friends, family, or professionals if you're struggling with any part of the project.
Enjoy the process: Building a shed is a rewarding experience. Take pride in your work!
I hope this step-by-step guide helps you build your very own lean-to storage shed. Remember, it's all about taking things slowly and carefully. Don't hesitate to ask for help if you need it. Happy building!
No comments:
Post a Comment
Note: Only a member of this blog may post a comment.