Saturday, November 9, 2024
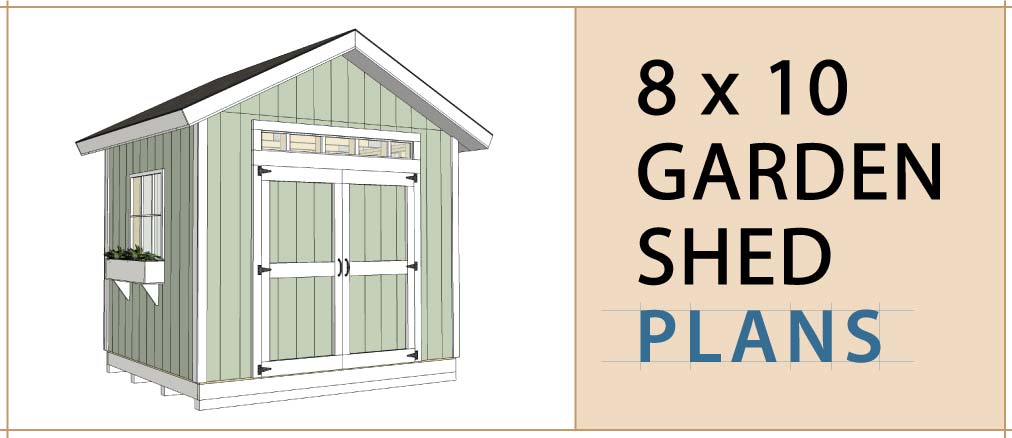
Affordable 8x10 shed plans: how to design and build for cheap
Hey there, fellow DIYer! So, you're looking to add a shed to your property but don't want to break the bank? We've all been there, staring at those "pre-built" shed prices and feeling a little lightheaded. Fear not, my friend, because building an 8x10 shed yourself can be super affordable!
It's all about planning, prioritizing, and getting creative with your materials. Let's dive into the world of shed-building on a budget!
### Designing Your Dream Shed on a Dime
1. The Foundation:
The foundation is the bedrock of your shed, literally! You have a few options here, each with its own cost and complexity:
Concrete Slab: This is the most durable, but also the most expensive. It's worth considering if you need a solid foundation for heavy tools or equipment.
Concrete Piers: A more affordable option, these are concrete pillars supporting your shed floor. You can DIY these with pre-mixed concrete, which is super easy to work with.
Pressure-Treated Skids: This is the most budget-friendly, and frankly, the most popular. You can get pre-cut skids from a lumberyard or even repurpose old ones if you're lucky! Just make sure they're in good condition, and treat them with wood preservative.
2. The Floor:
Plywood: This is the standard choice. Look for CDX plywood, which is designed for structural use. You can save some money by using thinner plywood for the floor joists and thicker plywood for the actual floor.
OSB (Oriented Strand Board): A more budget-friendly option, but it can be less durable than plywood. It's a good choice if you're on a tight budget.
Reclaimed Wood: Get creative and use reclaimed wood for your floor! This is a great way to add character and save money. Just make sure the wood is structurally sound.
3. The Walls:
Standard Framing: You can't go wrong with traditional 2x4 framing for your walls. It's sturdy and easy to work with.
Plywood Sheathing: Again, CDX plywood is your best friend here. It gives the walls strength and provides a smooth surface for siding.
Siding: This is where you can really personalize your shed. You can use vinyl, wood, metal, or even recycled materials like corrugated metal. Vinyl is the cheapest option and relatively easy to install.
4. The Roof:
Rafters: Use standard 2x4 or 2x6 lumber for the rafters, depending on the size of your shed and the snow load in your area.
Sheathing: Plywood is the most common sheathing for roofs.
Roofing: There are many affordable roofing options available, like asphalt shingles, metal roofing, or even recycled plastic shingles. Shop around and compare prices.
5. The Doors and Windows:
Doors: A single door is usually sufficient for an 8x10 shed. You can use pre-hung doors from a home improvement store or build your own using inexpensive lumber.
Windows: A few windows will brighten up your shed and provide ventilation. You can choose small, inexpensive windows or go for more elaborate designs.
### Getting Your Hands Dirty: Building Your Budget-Friendly Shed
Now that you have a plan, it's time to get to work!
Here are some tips for keeping your costs down:
Shop around: Compare prices at different lumberyards and home improvement stores. Don't forget to check for sales!
Be resourceful: Look for ways to reuse or repurpose materials. For example, you can use old pallets for the floor joists or reclaim wood for siding.
Consider a smaller size: A smaller shed will save you money on materials and labor.
Don't be afraid to ask for help: Enlist the help of a friend or family member who has some experience with carpentry.
Do your research: Read online tutorials and watch videos before you start building.
Here's a step-by-step guide to building your 8x10 shed:
1. Prepare the site: Clear the area and level the ground where your shed will be located.
2. Build the foundation: Follow the instructions for your chosen foundation type.
3. Frame the floor: Cut and assemble the floor joists and plywood sheathing.
4. Frame the walls: Cut and assemble the wall studs and plywood sheathing.
5. Erect the walls: Attach the walls to the floor using nails or screws.
6. Frame the roof: Cut and assemble the rafters and sheathing.
7. Install the roofing: Install your chosen roofing material.
8. Install the doors and windows: Cut openings for the doors and windows, and install them.
9. Finish the exterior: Install your chosen siding.
10. Finish the interior: Add insulation, drywall, paint, or any other interior finishes you desire.
Remember: Safety first! Always wear appropriate safety gear, including gloves, goggles, and ear protection.
### Beyond the Basics: Shed Upgrades on a Budget
Got a little extra money? Here are some budget-friendly ways to upgrade your shed:
Add a loft: Create extra storage space by building a loft above your shed. You can use leftover lumber from the main structure.
Install a window: Add a window to let in natural light and air.
Paint the interior: A fresh coat of paint can make your shed feel more inviting.
Add a workbench: Make a simple workbench from inexpensive lumber and hardware.
Install lighting: Add an electrical outlet and lights for working in your shed at night.
### The Sweet Smell of Success (and Savings!)
And there you have it! Building an 8x10 shed on a budget doesn't have to be a daunting task. With careful planning, resourcefulness, and a little elbow grease, you can have a brand new shed that's both affordable and functional.
So get out there and unleash your inner shed-builder! It's a rewarding experience, and your wallet will thank you for it.
No comments:
Post a Comment
Note: Only a member of this blog may post a comment.